3D Modelling · 7 minute read
Welcome to the enchanting world of 3D game environment design, where creativity and technical skill intertwine. In this comprehensive guide, tailored for aspiring students and talented 3D artists, we will explore the fascinating intricacies of modular assets, trim sheets, asset optimization, and shader optimization.
By mastering these fundamental aspects, you will gain the necessary tools to create breathtaking and optimized game environments that truly transport players to fantastical realms.
Before we embark on our journey, it's important to understand the distinction between a level designer and an environment artist. The level designer is responsible for crafting the gameplay experience, focusing on the layout, mechanics, and storytelling elements of a game level. They work closely with the development team to create levels that offer engaging challenges, smooth progression, and captivating narratives. On the other hand, the environment artist breathes life into the level design by creating visually stunning elements that make the game world come alive. They sculpt landscapes, model and texture props, set up lighting and atmospheric effects, and ensure the overall aesthetic aligns with the game's artistic direction. Collaboration between level designers and environment artists is crucial to achieve a cohesive and immersive gaming experience, where the visual elements complement and enhance the gameplay.

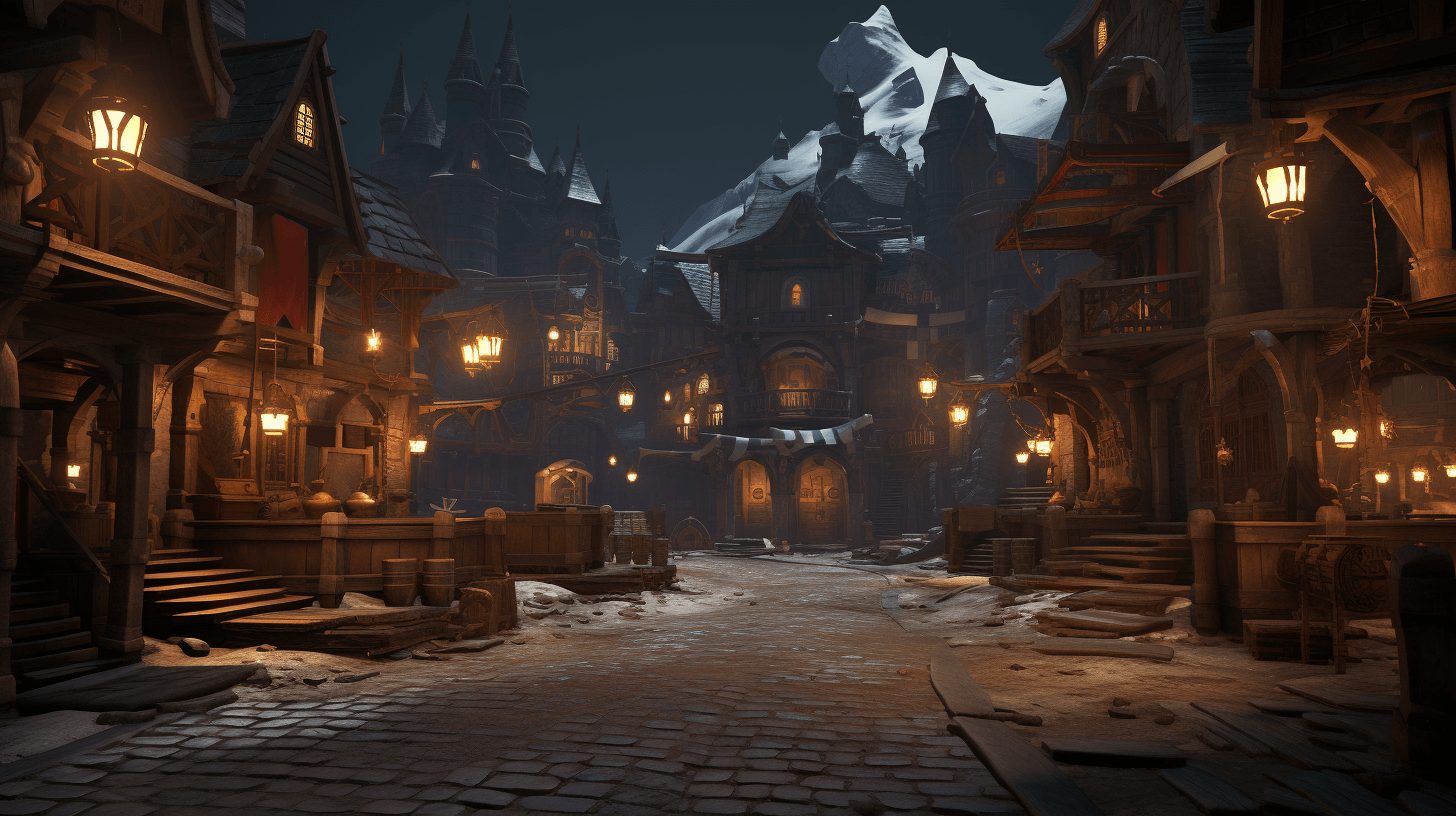
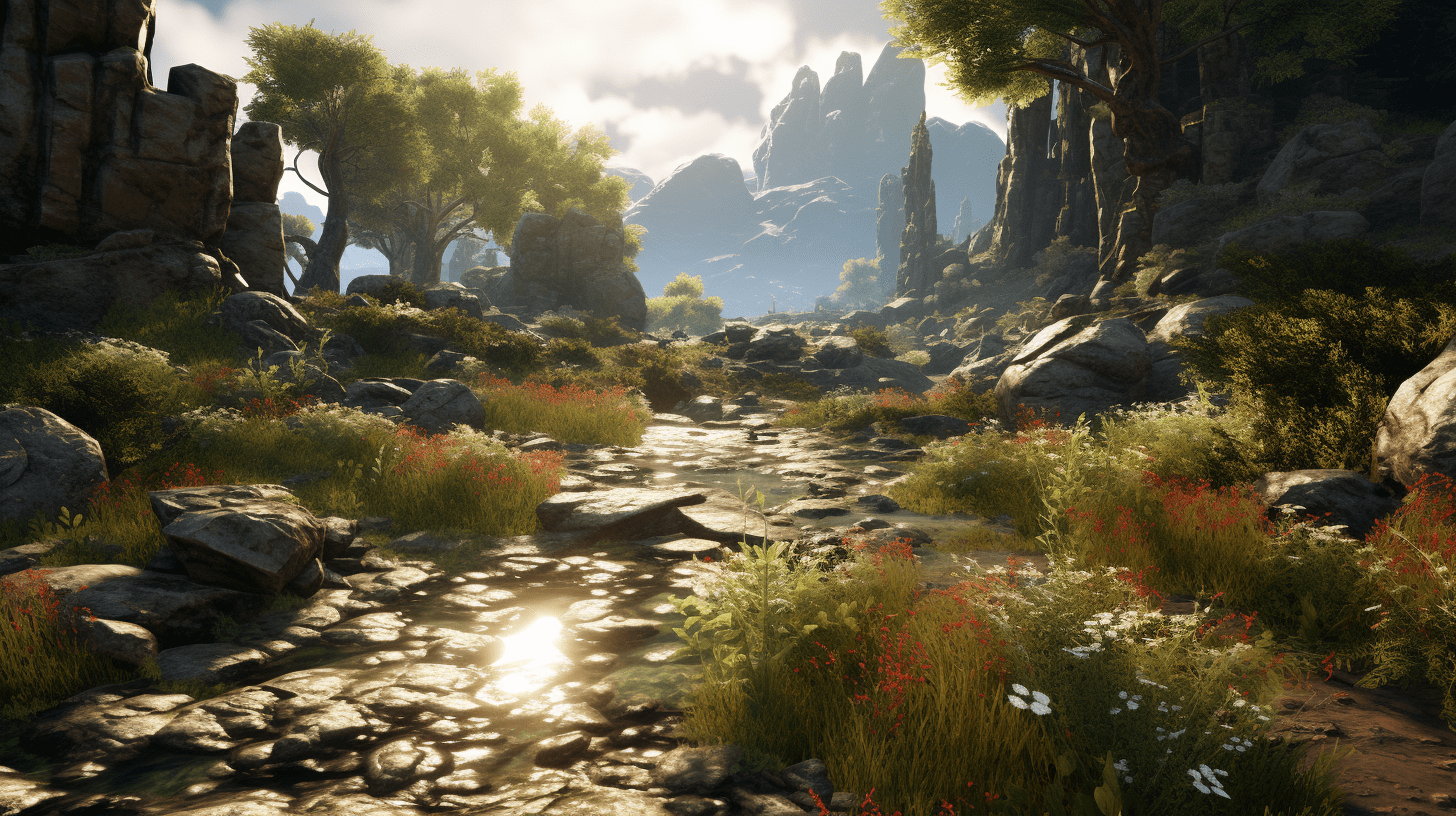
At the heart of 3D environment design lies the creation of lifelike and visually captivating game worlds that engage players on multiple levels. These worlds are constructed using various components such as terrains, props, lighting, textures, and animations. Terrains and landscapes form the foundation, providing the backdrop for the game's setting, whether it be a sprawling forest, a futuristic cityscape, or a desolate wasteland. Props and objects populate the environment, adding detail and interactivity, ranging from simple objects like furniture to complex machinery and architecture.
Lighting and atmosphere play a pivotal role in setting the mood and enhancing the overall ambiance of the environment. The careful placement of lights and atmospheric effects can evoke specific emotions and guide the player's attention. Textures and materials give surfaces their realistic look and feel, providing depth and richness to the environment. From rough concrete to weathered wood or glossy metal, textures breathe life into objects and surfaces. Animation and effects add dynamism and interactivity to the environment, making it feel alive and responsive to player actions. Whether it's the swaying of trees, flowing water, or immersive particle effects, these animations and effects enrich the player's experience within the game world. By skillfully balancing and integrating these elements, you can create captivating environments that draw players into the game's universe.

Efficiency is crucial in environment design, and modular asset creation offers a powerful solution. By breaking down objects into reusable modules, you can create a library of assets that can be combined and arranged in various ways to construct diverse game environments. This approach brings multiple benefits. Firstly, it reduces production time by eliminating the need to create unique assets for every scene. Instead of starting from scratch, you can leverage pre-designed modular assets and assemble them to fit specific level designs. This saves valuable time and resources, allowing for faster iteration and efficient content creation.
Modular assets ensure visual consistency throughout the game. By using the same set of modules across different levels, you maintain a cohesive art style and avoid jarring transitions between environments. This contributes to an immersive and seamless experience for the player as they progress through the game. When designing modular assets, consider factors like scale, alignment, and texture continuity. Ensuring that modules fit together seamlessly and share the same texture resolutions and styles enhances their reusability and flexibility. By adhering to design guidelines and organizing assets effectively, you can strike a balance between visual variety and consistency, maximizing efficiency in your environment creation workflow.
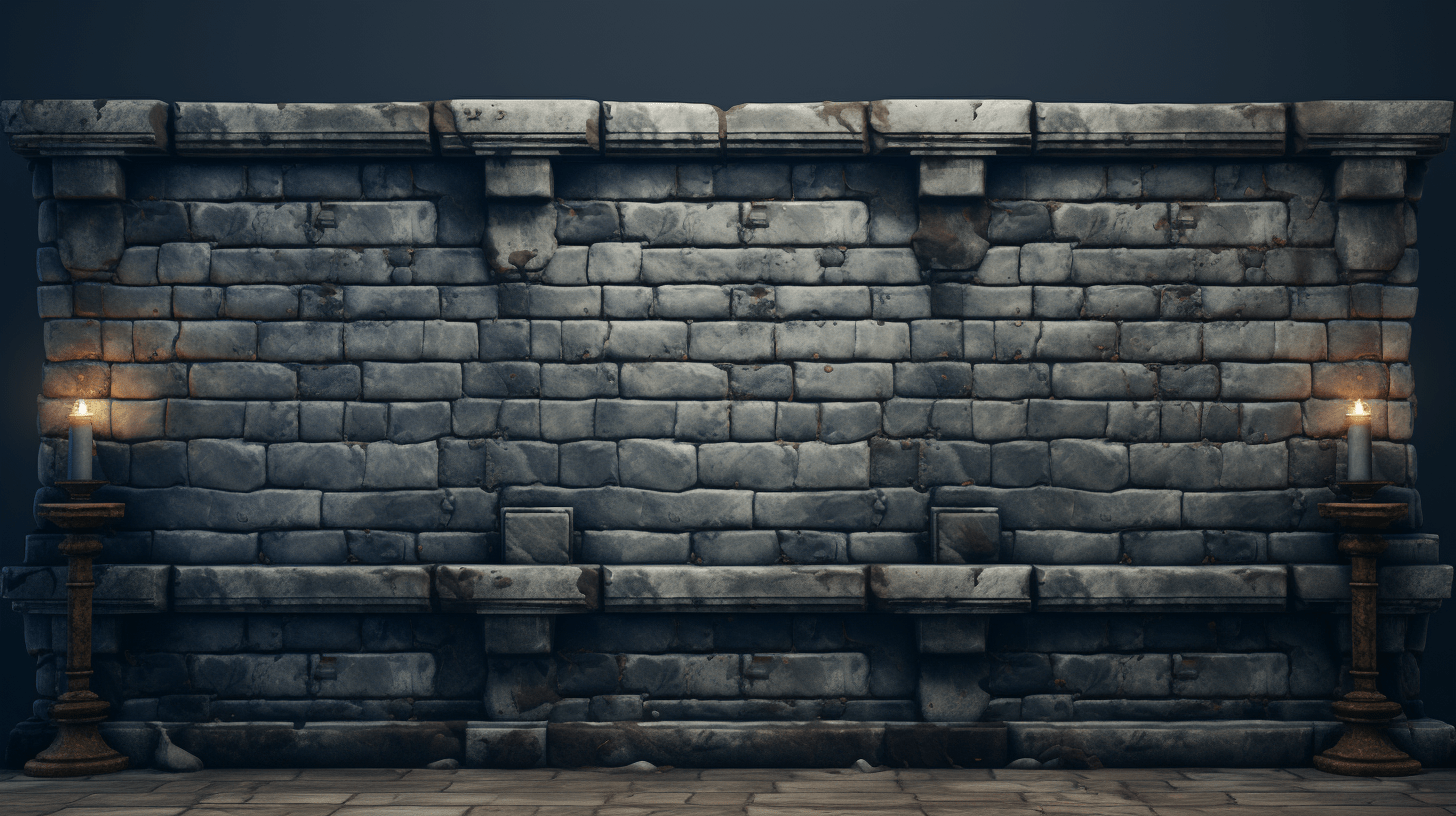
Trim sheets are invaluable tools for optimizing texture usage and streamlining workflow efficiency. A trim sheet is a texture atlas that contains multiple elements or variations of textures arranged in a grid-like pattern. By consolidating multiple textures into a single sheet, you can reduce draw calls and texture memory usage, resulting in improved performance.
Trim sheets are particularly beneficial for objects with repetitive or patterned surfaces, such as walls, floors, or tiled structures. Instead of creating unique textures for each instance of the object, you can sample from the appropriate section of the trim sheet, saving both memory and production time. Efficient trim sheet creation involves techniques like texture baking and UV mapping.
Texture baking transfers high-resolution details from a high-poly model to a low-poly model, achieving visually appealing textures without excessive geometry. UV mapping ensures proper texture placement on models, maximizing texture resolution and minimizing stretching or distortion. By leveraging trim sheets effectively, you can optimize texture memory usage, reduce memory overhead, and streamline your environment design pipeline.
Performance optimization is paramount in delivering smooth and immersive gameplay experiences. To ensure optimal performance, it's crucial to optimize assets in terms of geometry and textures. Geometry optimization techniques focus on reducing polygon count and simplifying complex meshes. Retopology is an effective method that involves creating a lower-polygon version of a high-poly model while preserving its overall shape and details. This not only reduces strain on the graphics processing unit (GPU) but also allows for efficient Level of Detail (LOD) management.
LODs involve creating multiple versions of an asset with varying levels of detail to be used at different distances from the camera. This technique allows the game engine to render simpler and less resource-intensive versions of objects when they are far from the player's view, resulting in improved performance without sacrificing visual quality. Texture optimization focuses on reducing texture memory usage and ensuring efficient texture compression. Techniques like texture atlasing involve combining multiple textures into a single texture atlas, reducing the number of texture switches during rendering. Texture packing, where textures are tightly packed within the atlas to minimize wasted space, helps optimize memory usage. Choosing appropriate texture formats and compression algorithms is also crucial. Different platforms and game engines support various texture formats, each with its own trade-offs in terms of visual quality and memory usage. Texture compression algorithms can significantly reduce texture size while preserving visual fidelity. By implementing these optimization techniques, you can achieve a balance between visual fidelity and performance, ensuring that your game environments run seamlessly on various platforms.

Shaders play a vital role in achieving stunning visual effects and realistic materials in game environments. Shader optimization focuses on improving performance by reducing shader complexity and optimizing shader code. Reducing shader complexity involves minimizing the number of computations and instructions within a shader. By removing unnecessary calculations, simplifying complex shader graphs, and utilizing more efficient algorithms, you can streamline the rendering process and achieve better frame rates. Shader code optimization involves writing clean, concise, and efficient shader code.
Techniques such as loop unrolling, code vectorization, and minimizing conditional branching can improve shader performance. Additionally, leveraging built-in shader features like shader instancing and GPU-based particle systems can offload calculations from the CPU to the GPU, improving overall performance. Profiling and analyzing shader performance using specialized tools and resources are crucial to identify bottlenecks and make informed optimization decisions. Profiling tools can help identify shaders that consume a significant portion of the rendering time, providing insights into optimizing those shaders. By profiling shaders and making targeted optimizations, you can achieve a balance between visual quality and performance.
Congratulations on embarking on this exciting journey through the realms of 3D game environment design! By mastering the art of modular asset creation, trim sheets, asset optimization, and shader optimization, you will possess the skills needed to create immersive and optimized game environments that captivate players and bring your imaginative visions to life. Remember to embrace practice and experimentation to refine your skills and discover new techniques. The limitless creative possibilities of 3D environment design await you—so go forth and craft awe-inspiring and immersive realms that will leave players spellbound.
Q: What is the difference between a level designer and an environment artist?
A: A level designer focuses on shaping the gameplay experience by creating level layouts, mechanics, and storytelling elements. An environment artist brings the level design to life by designing and implementing the visual elements, such as landscapes, props, lighting, and atmospheric effects, that enhance the player's immersion in the game world.
Q: What is 3D environment design?
A: 3D environment design involves the creation of visually stunning game worlds using various elements like terrains, props, lighting, textures, and animations. The goal is to craft immersive environments that enhance the player's gaming experience and bring the game's universe to life.